Toyhead
Auto Restoration Services
John Garza
Toyota enthusiast.
Well, here we go again.
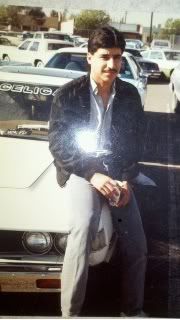
This is me in high school. Class of '88. My first car, my first
true love. a '77 Celica RA24 I bought in 1985.
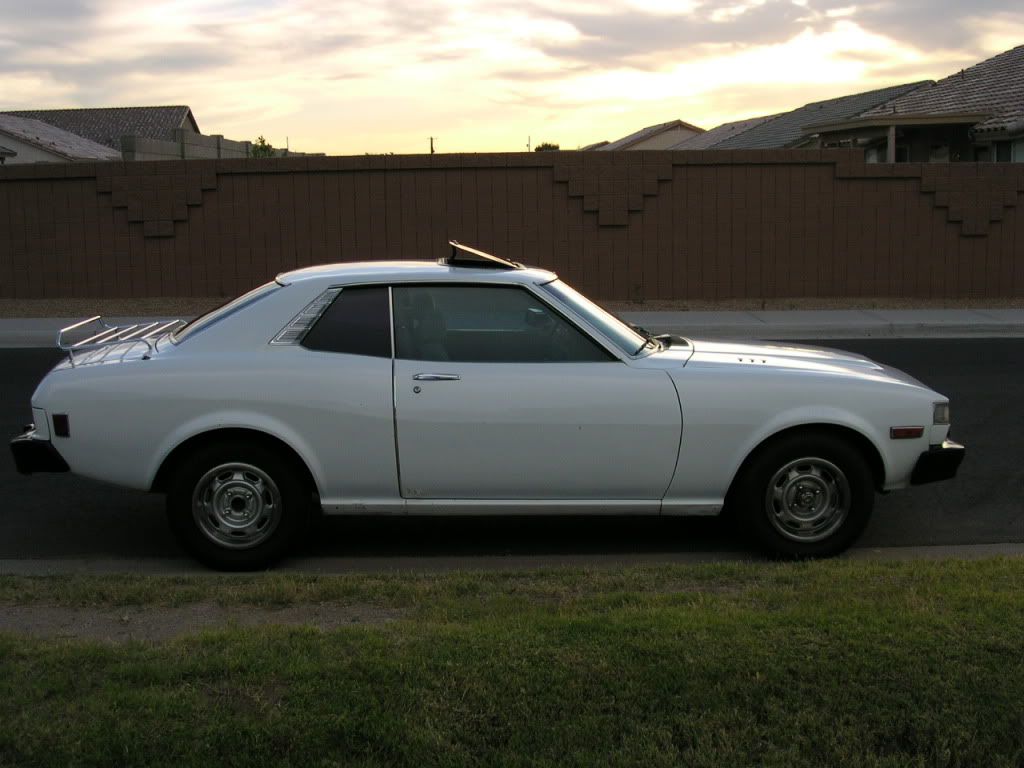
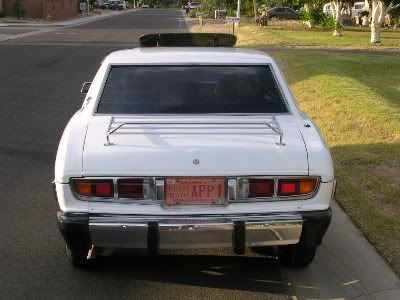
That car had what I thought was too much rust and sold her
off in '02. here's the ebay pics I used
After seeing some of the projects on this site and the amount
of rust removed... Not sure it was such a smart move. Oh well, I
ended up with a cleaner shell so no harm done. Then she sat in
the garage for 10 years. only the occasional drive around the
block. finally this summer it began.
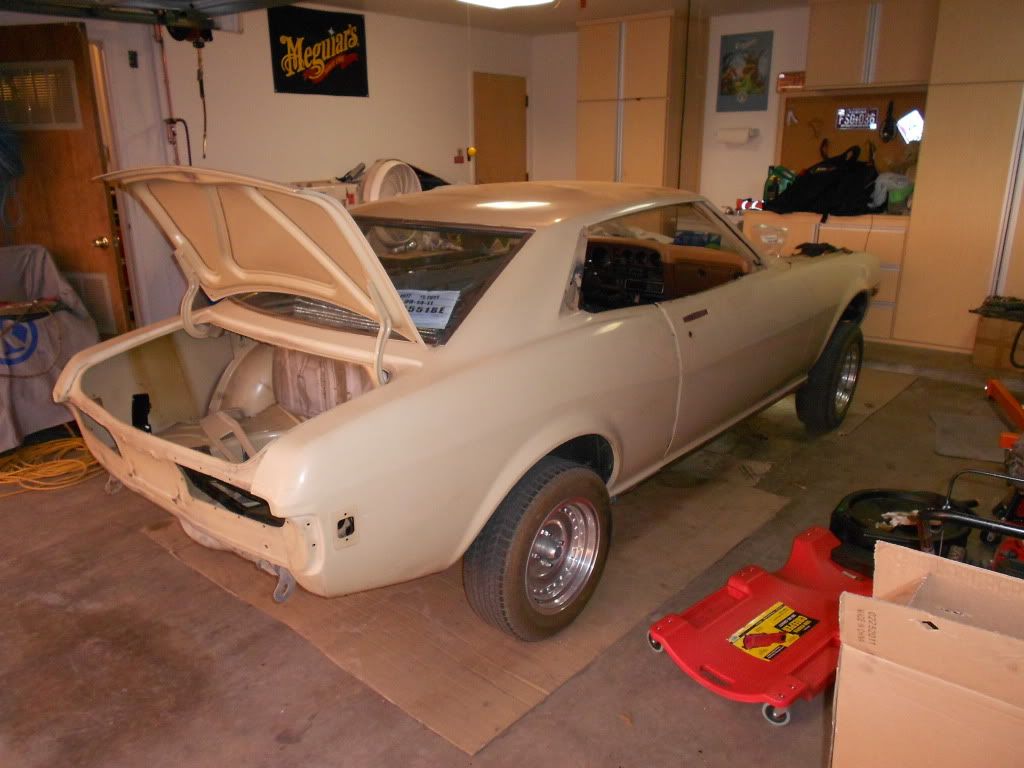
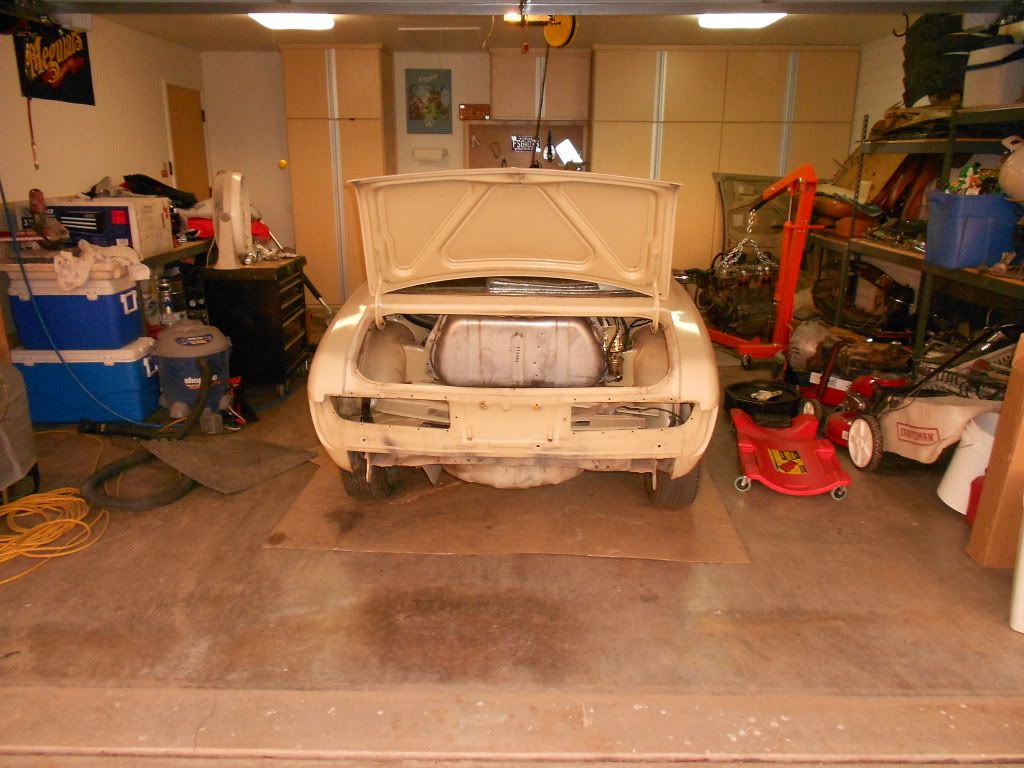
I started stripping her down for paint, but decided to do an
engine swap. Why? I completely blame this forum. Had no
intention till I read some of the project threads.
So here we go...
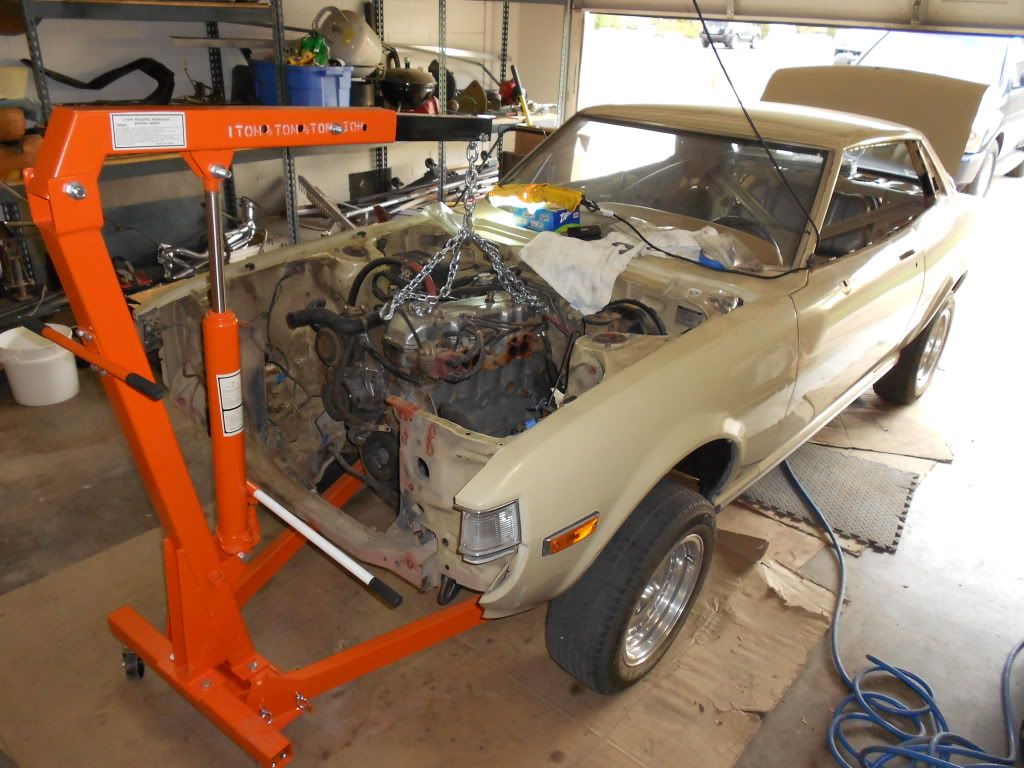
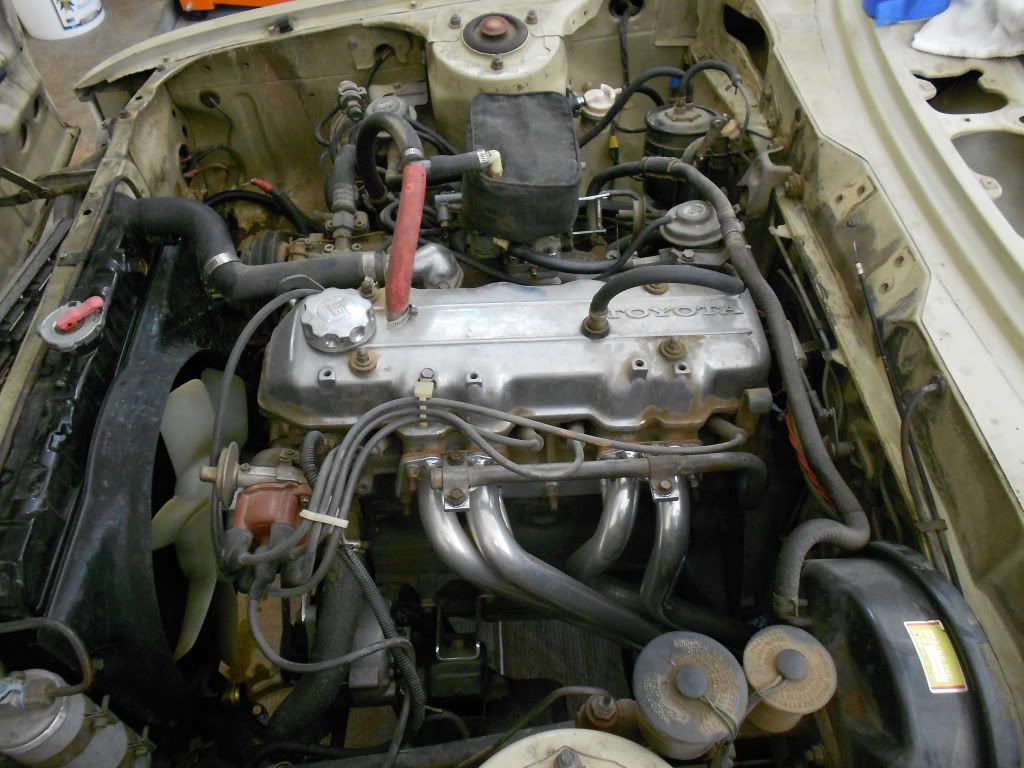
This was my original 20R. lots and lots of mods, but no point
in listing them now. I sold it this week. fair price and the guy
has a '77 RA28, so I know she's staying together and going to a
good home. Sorry to those who had expressed interest in some of
the parts, but parting it out would have been a bummer for me
after all that hard work building her up.
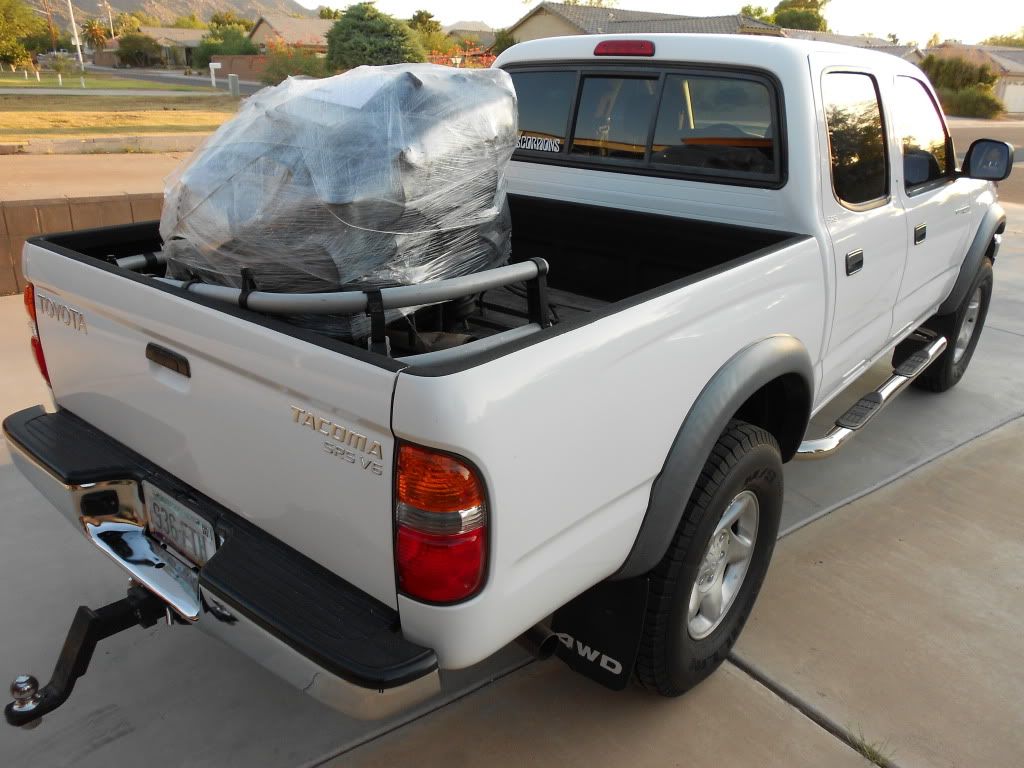
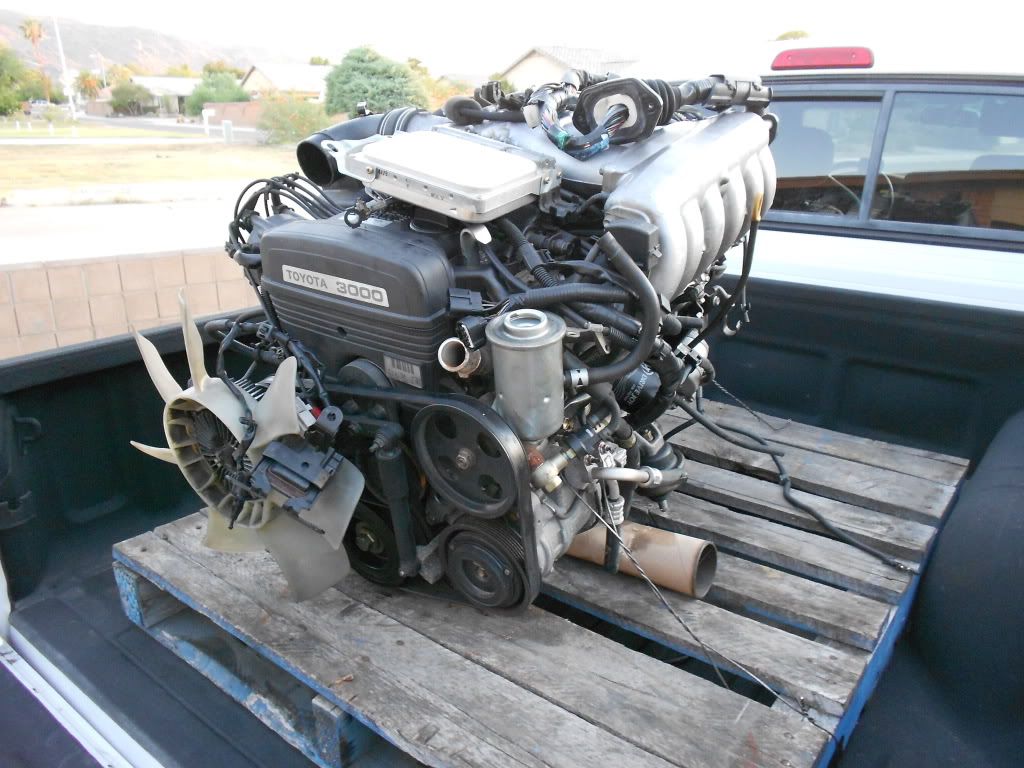
Here's the 2jz the day she followed me home. Of course I
drive a Tacoma as well.
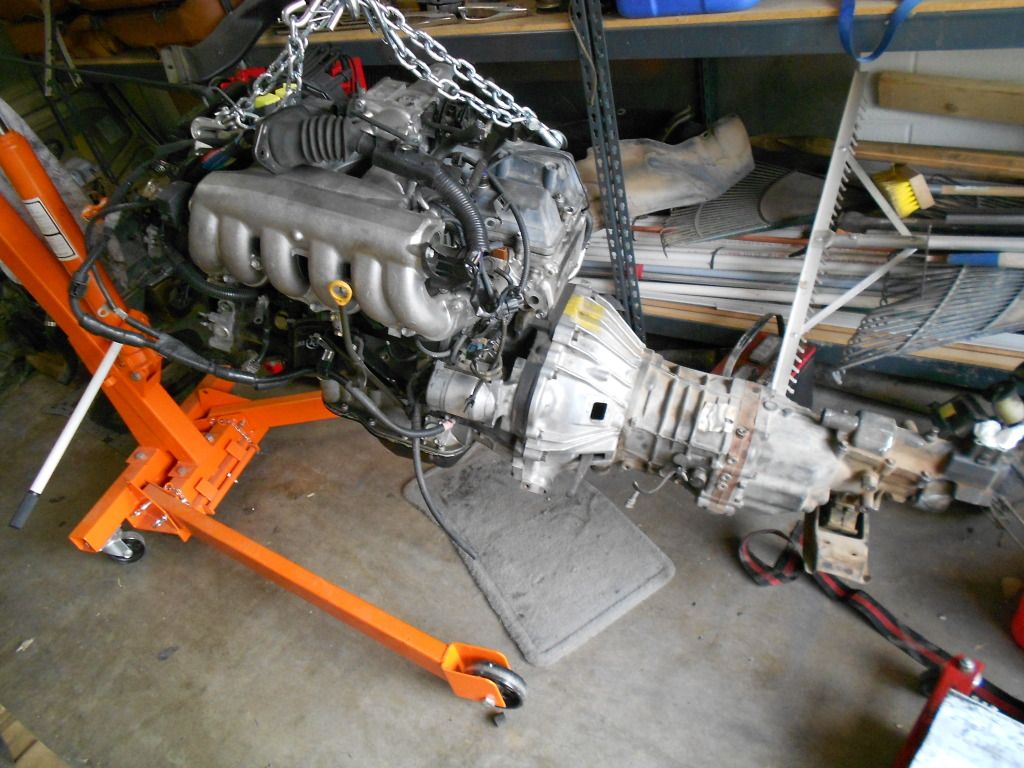
Picked up a 5sp. out of an '04 IS300 complete with 2jz
bellhousing.
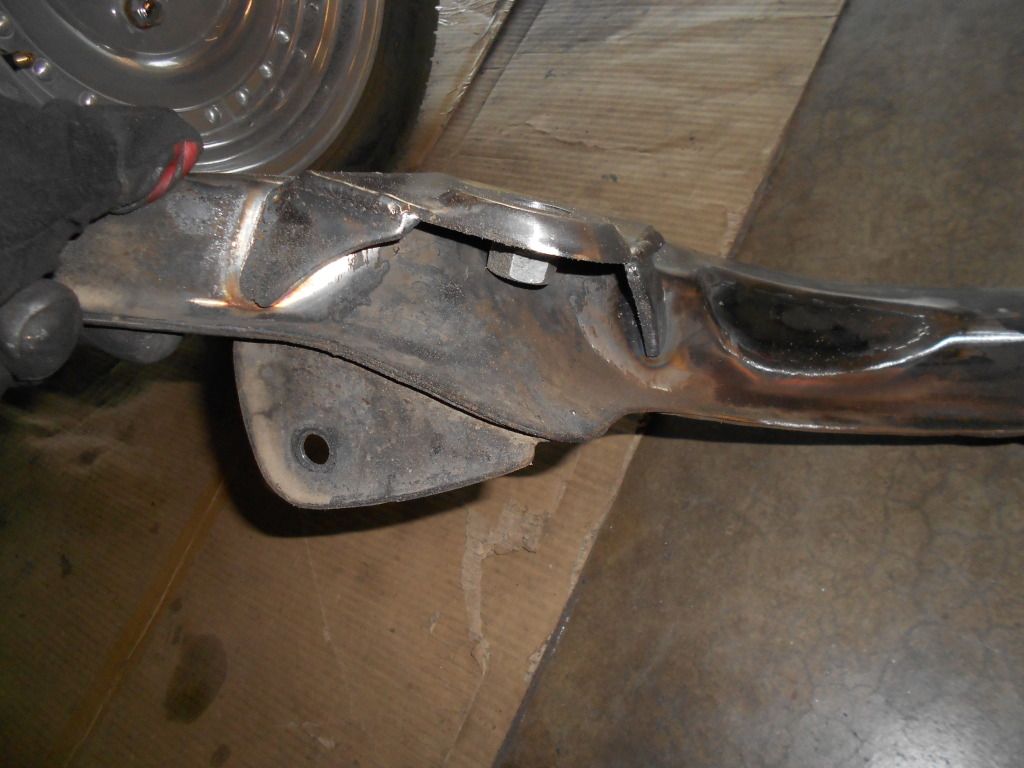
Swap started with removing the 20r mounts from crossmember
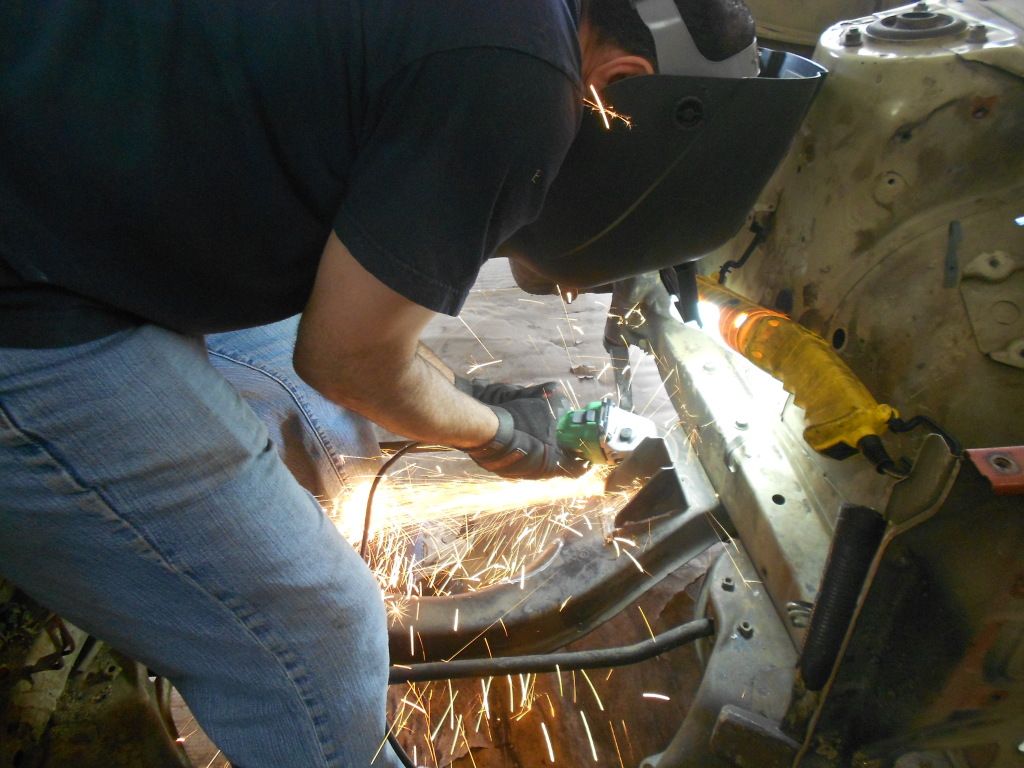
Notched the crossmember for oil pan clearance. we later
filled this with two layers of sheetmetal for strength.
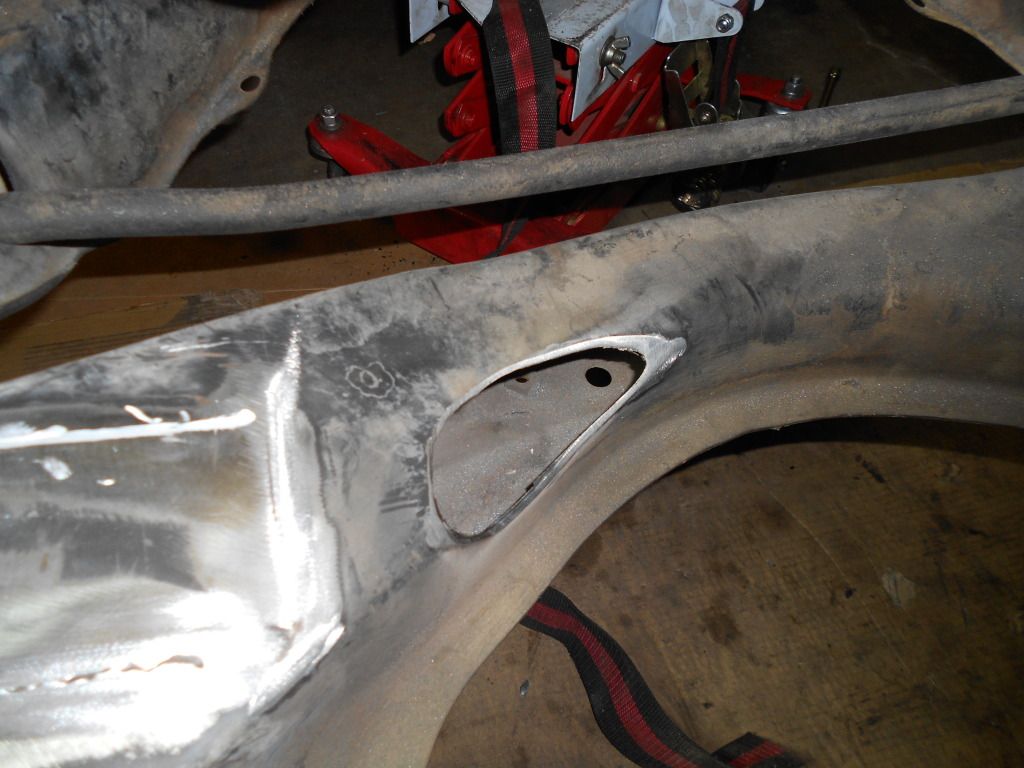
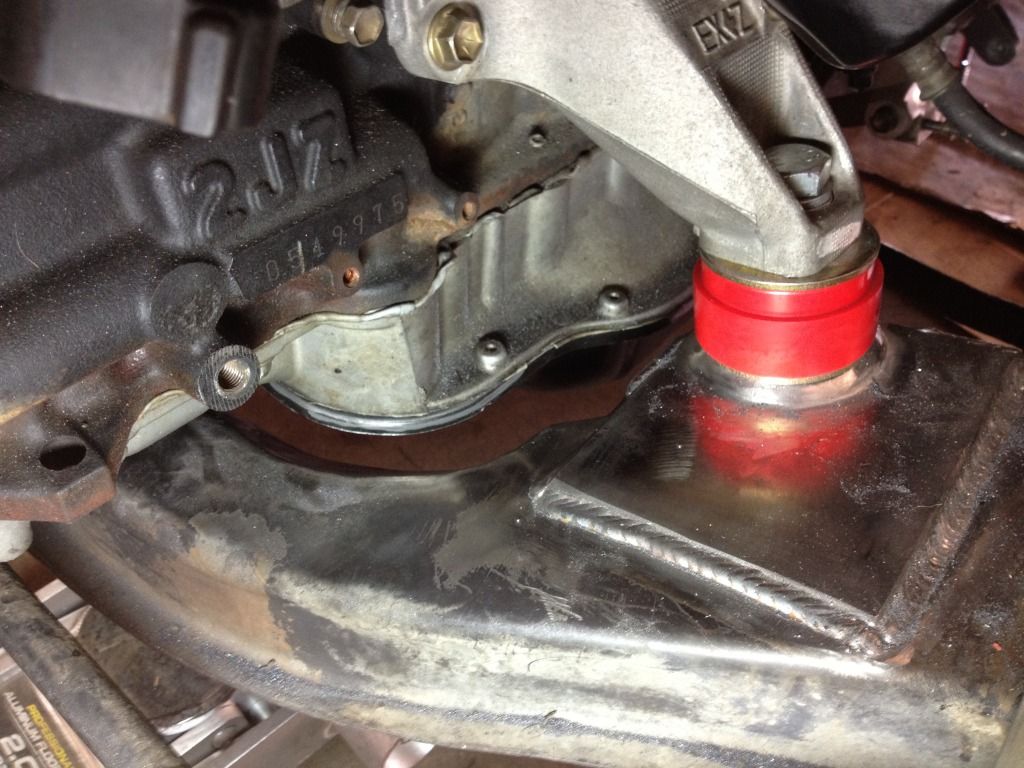
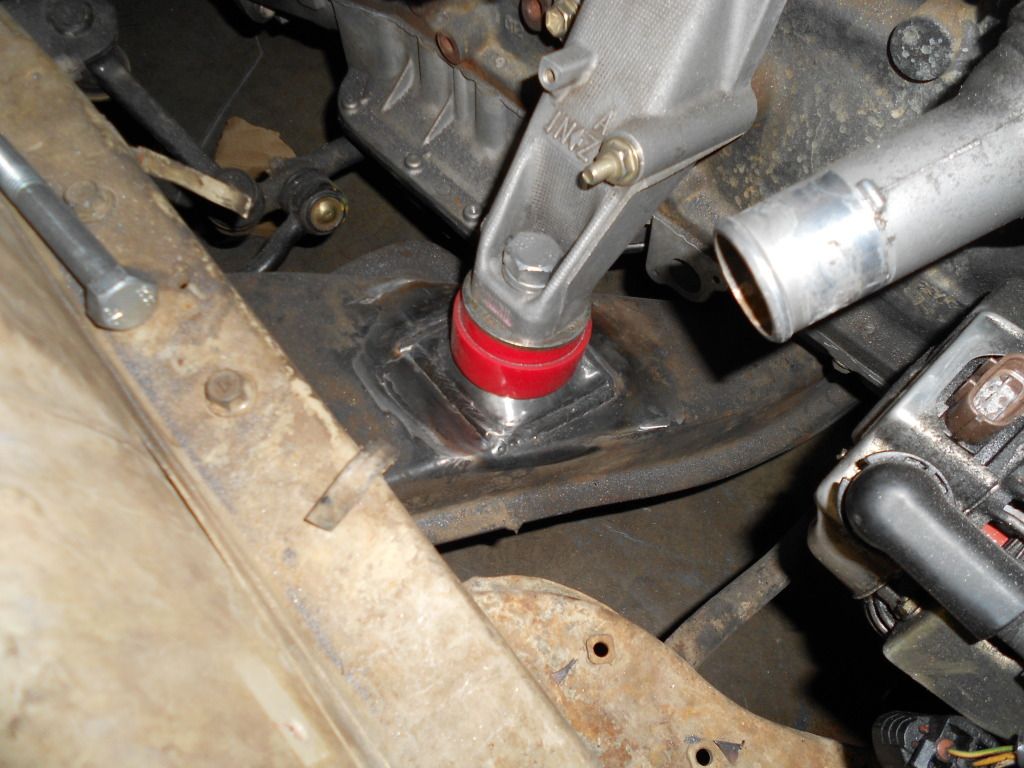
Mounting plates welded up and ready to go.

Here's the driver's side with mounting plate and notched
filled in. poly bushings that are actually for a dodge
transmission worked out nicely
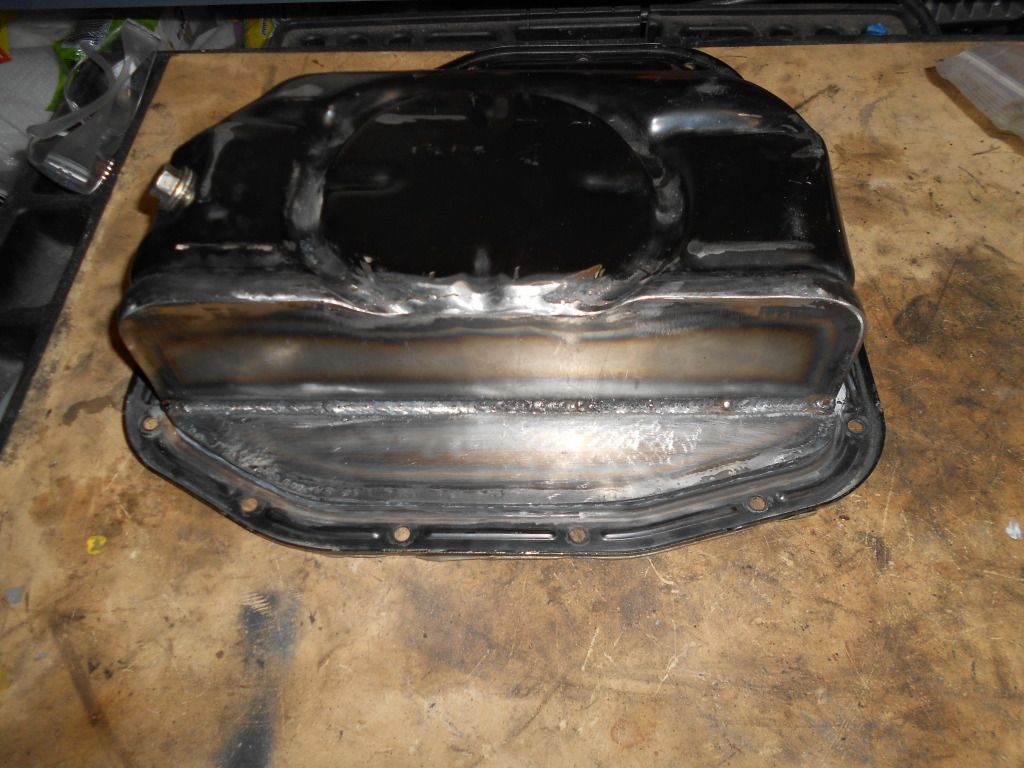
The oil pan needed some serious modification as I was
staying with the factory steering
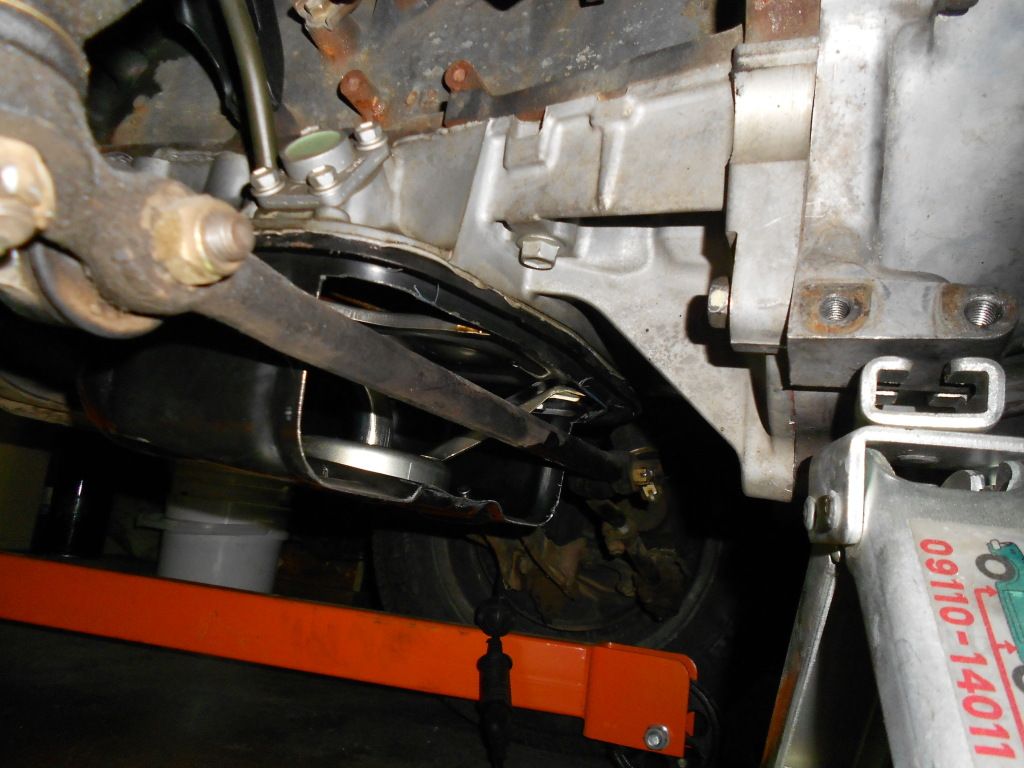
I pushed the engine back as far as I could so the
transmission cross member needed a little work as well
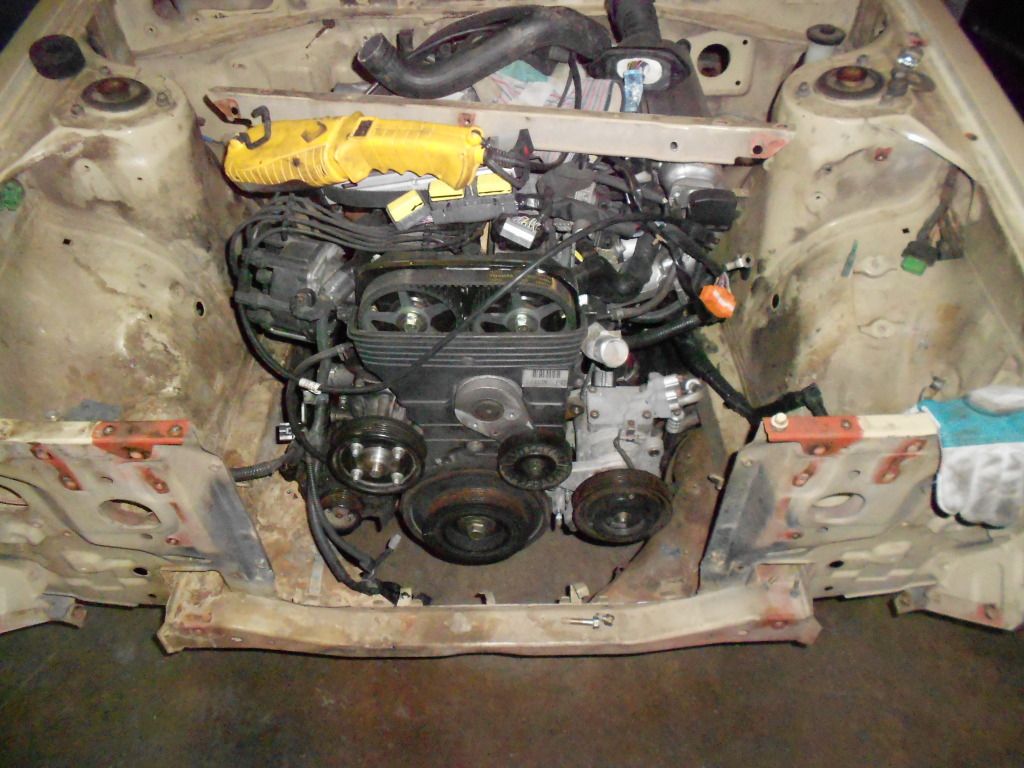
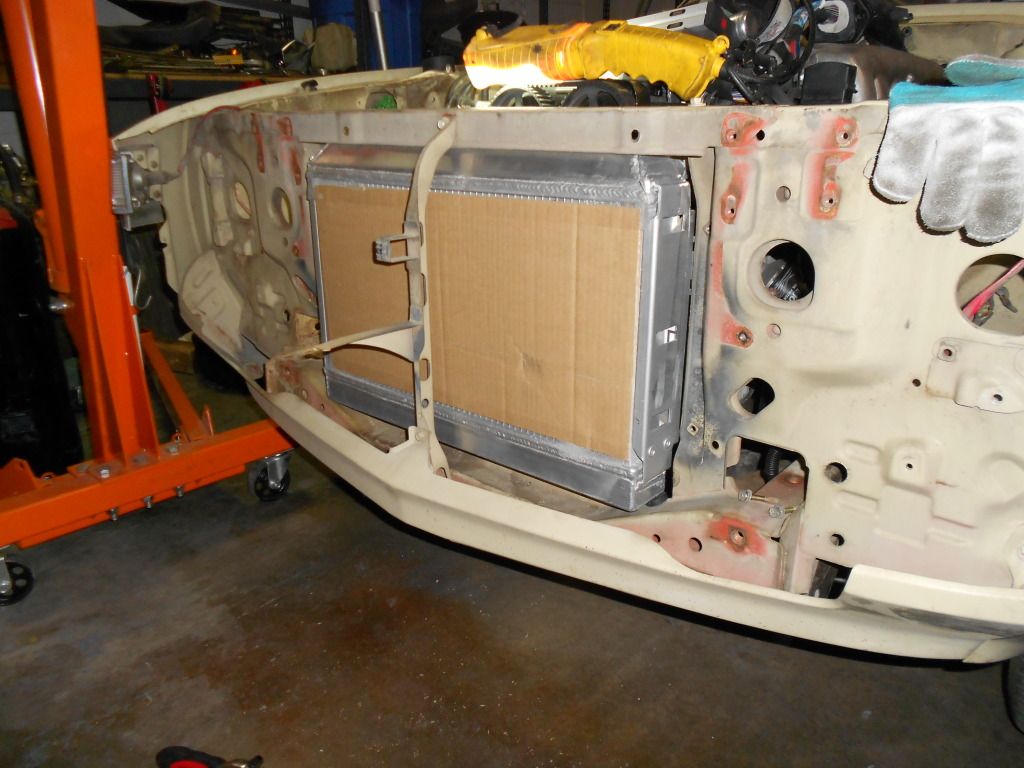
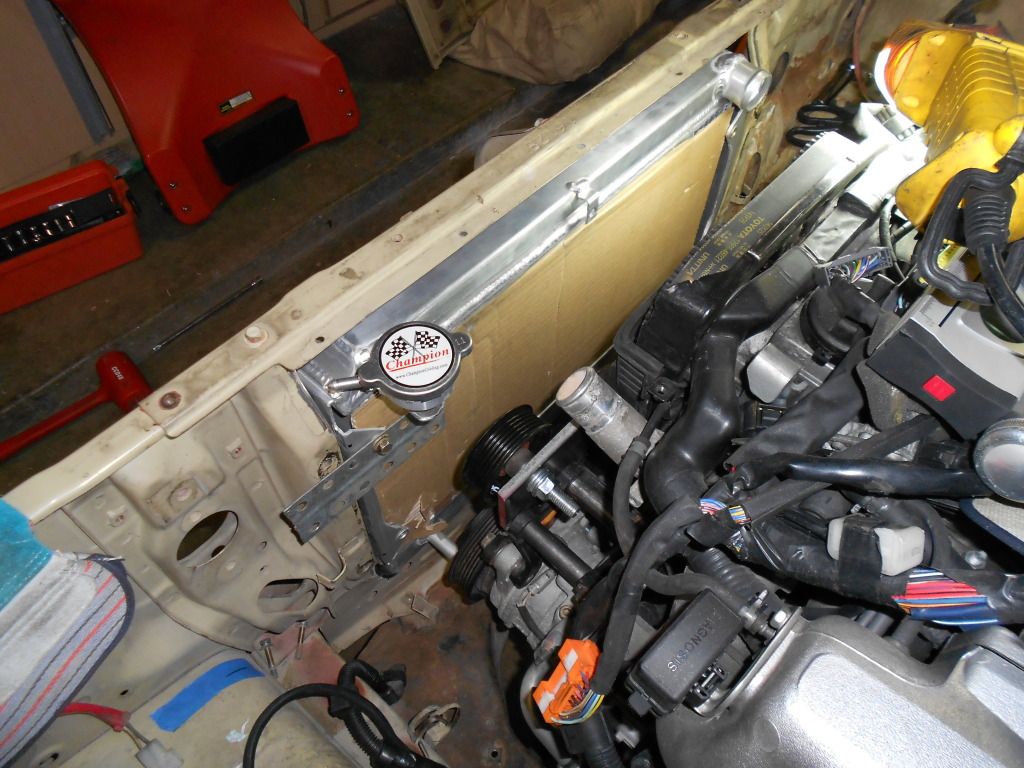
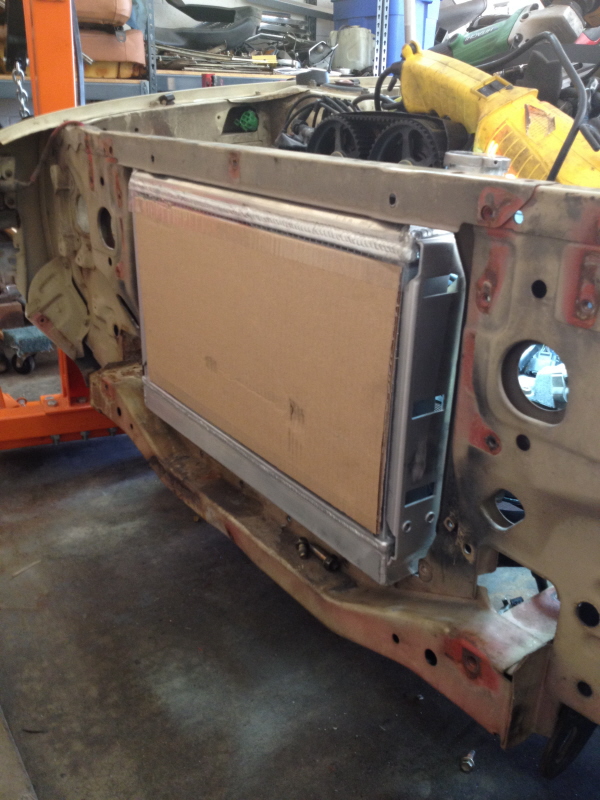
A radiator for a 80 Mazda RX-7
FB will fit PERFECTLY in the '77. with a little modification
that is. still in the works, but here's a few pics of the mock
up.
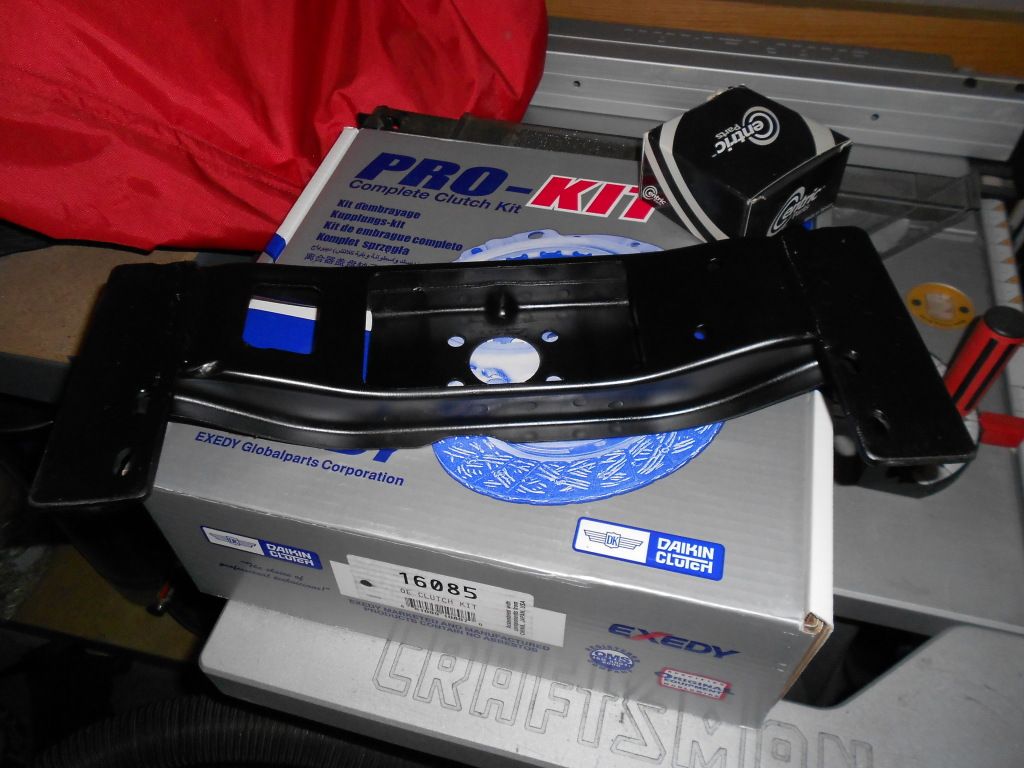
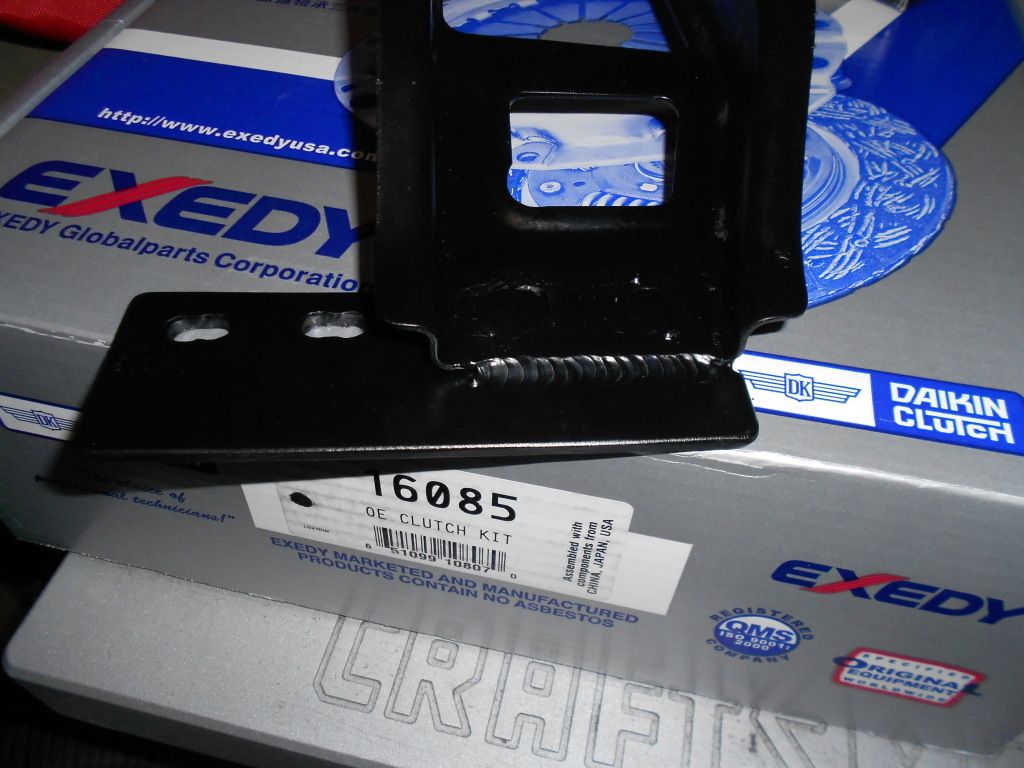
Here you can also see the idler
bracket I'm working on, not done yet.
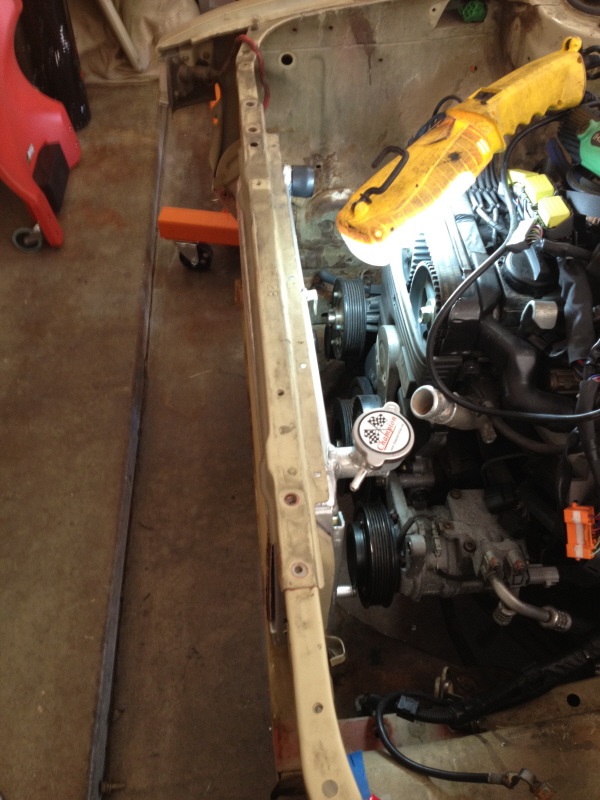
More to come as this
project progresses!